Skirting boards get scuffed and worn and in some cases rot away or simply haven’t been fitted in the first place. Spending a little bit of time creating and fitting or replacing them will really help to smarten up your home. To make your skirting boards look like new, grab your Dremel Multi-Max and follow this step-by-step guide!
Tools and Materials Required
Dremel Multi-Max
Wood and Drywall Saw blade MM450
10mm Flush Cut blade MM470
Hook and Loop Sanding pad MM11
Sanding paper for wood MM70W in grit P60
Masonry drill
Pencil
Straight edge
Rawlplug
Set square
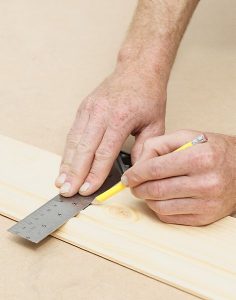
 Step 1 – Measure the area at the foot of your wall that you want to cover with skirting board. Then, buy a length of skirting board from your local DIY superstore in the style that you want to either match your existing boards or replace them. Skirting boards come in many styles from the completely plain to suit a modern house, to ones with a bevelled edge, to highly decorative ones with lots of moulding for an older house. Mark up the point along the length at which you want to cut the board using a pencil and straight edge.
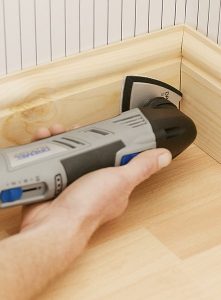
Step 2 – Cut out the piece of skirting board to fit the area where you need to replace it using your Dremel Multi-Max and the Flush Cut blade MM470. If you are fitting it into a corner you may need to cut off the edge of each piece of skirting board to fit them together neatly using the Wood and Drywall Saw blade MM450.
 Step 3 – Sand to finish using the Multi-Max Hook and Loop Sanding Pad MM11 and the sanding paper for wood MM70W which comes in three grits P60, P120 and P240. Finally, using a masonry drill, drill a hole for a rawlplug into the brickwork and then screw the skirting board into position, avoiding pipes, and fix it to the wall.


