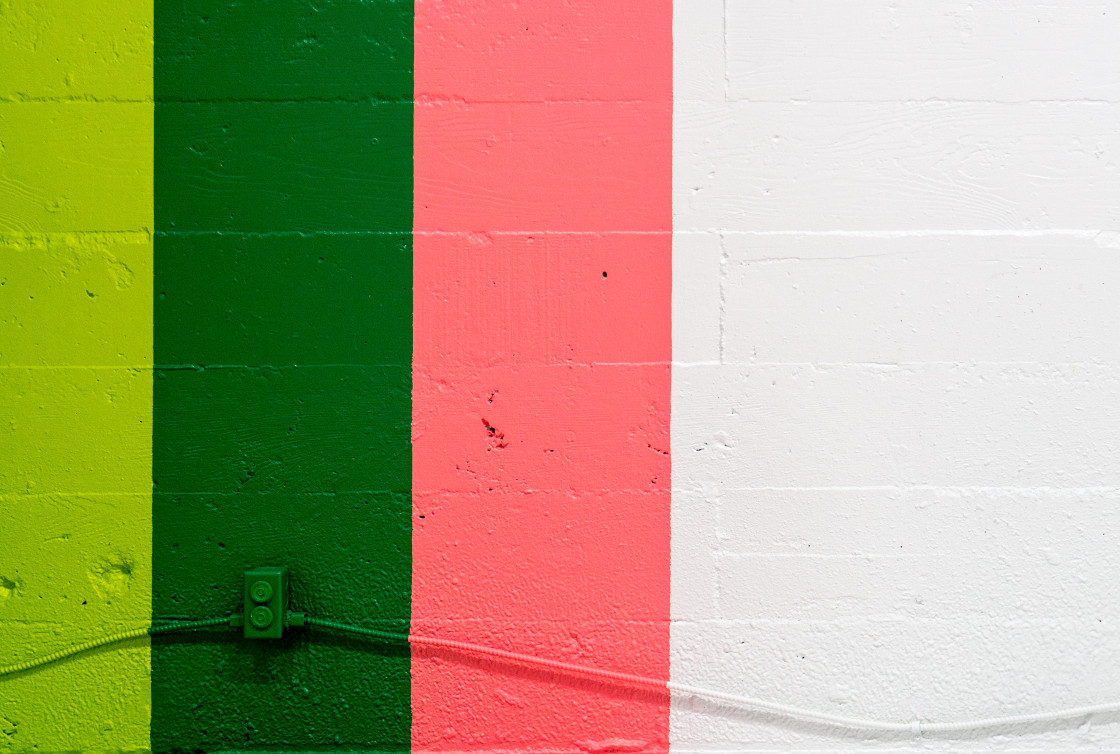
Having a feature or accent wall, painted or papered in a bold colour or pattern, is increasingly popular in our homes. A feature wall can bring bold colour into a room that is not, perhaps, large enough to be completely painted in that colour.
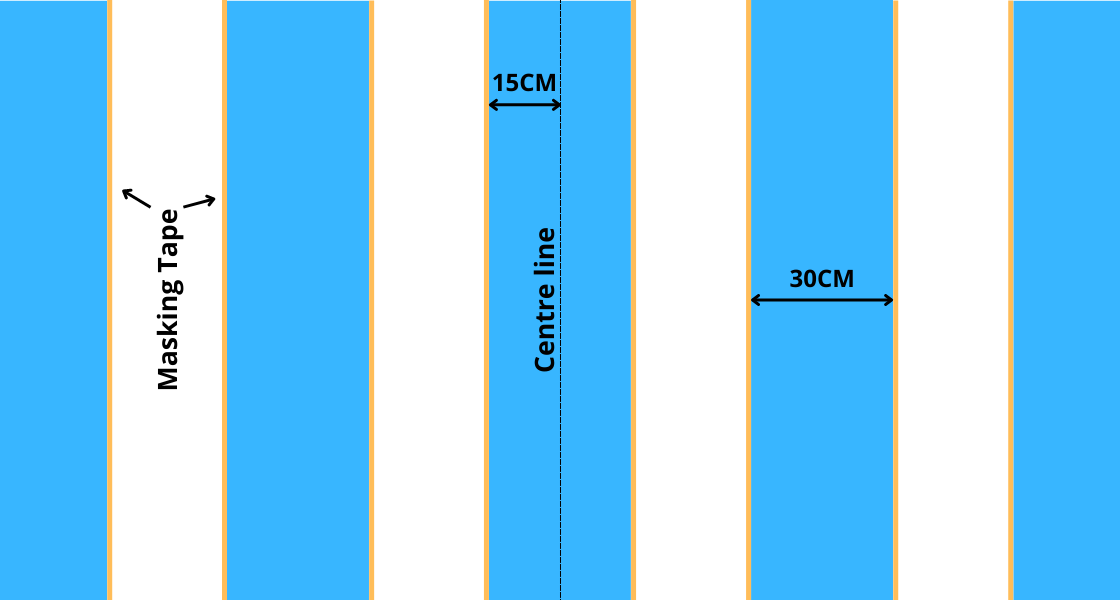
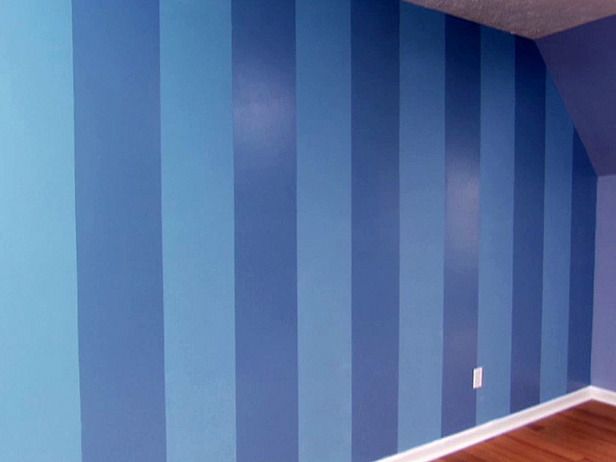
Painting stripes on a wall, rather than using striped wallpaper, can be a very effective way of creating a feature wall, and one which allows you total control over the width and colour of the stripes. This guide looks at painting regular 30cm vertical stripes across the full length of a wall, but the method can be adapted for different widths of stripes or irregular stripes.
Preparing the room
If you are decorating the whole room when applying the feature wall, complete this first including the ceiling. Take the same precautions you normally would when painting by moving and covering furniture away from the wall and protecting the floor from splashes with dust sheets. Make sure the room is ventilated and that you have everything you need to create the striped wall. This will include a tape measure, masking tape, rollers and trays, and a seam roller (to help ensure that the masking tape is firmly stuck down).
Measuring and Marking the First Stripe
It is unlikely that your wall will divide perfectly equally across the whole length, so if you start by marking out a stripe at one end, the stripe at the other end will be narrow. To avoid this, you can either do some maths (measure the wall length and divide it up into equal sections) which can overcomplicate things, or you can start from the middle of the wall. If you are painting stripes all the way around the room, start in the least noticeable corner (usually the corner closest to the door). For this guide, we will concentrate on painting stripes on a single feature wall, starting in the middle of the wall.

Measure and mark the central line on the wall with a pencil. Measure out 15cm on each side of the middle line and make a mark. If your stripes are smaller or larger than our 30cm stripes, reduce or increase this measurement accordingly. You can now apply masking tape along the marked lines to mask out your middle stripe. Decide how wide you want the gap to be between the stripes and measure this distance from the inside of the masking tape. Apply the next strip of masking tape at this new mark. It is a good idea to stick a small piece of masking tape to the wall in the stripes that are not being painted, so you don’t make a mistake later.
Marking Out the Rest of the Wall
Continue this process along the full length of the wall. When you get to the end of the wall, you have a decision to make. Depending on where the last non-painted stripe falls and how wide the last stripe will be, you can either not paint a stripe at the edge or paint a smaller stripe. If, when you measure out from the last full painted stripe, the gap between the mark and the end of the wall is less than 3-4cm, it is not worth painting a stripe. Anything more than 3-4cm and it might look strange without a stripe at the end.
Once you have marked out all the stripes, double-check them to make sure you have not made any mistakes when measuring or marking them. If you stuck the small pieces of tape in the non-painted stripes, you should now see a wall full of alternating stripes, ready to be painted. It is also a good idea to mask off the ceiling and skirting board with tape before you start painting.
Painting the Stripes
Before you start painting, run over all of the masking tape strips with a seam roller, or a dry rad roller, to make sure that the edges are stuck down firmly. This helps to avoid the stripe colour bleeding onto the background colour. If the wall is textured or uneven, you will find it very hard to create perfect edges for the stripes. It isn’t impossible, but you will certainly need to do a lot more detailed work to correct any bleeding that occurs.

Unless your stripes are very narrow, you should be able to use a roller to paint on the contrast colour. If possible, use a roller that is the same width as the stripe to help avoid roller lines. You should remove the masking tape about 5-10 minutes after painting the stripe. A good rule of thumb is to paint the first three stripes and then go back and peel off the tape from the first. Paint another stripe and then remove the tape from the second. Repeat this process until all stripes have been painted and all tape removed.


