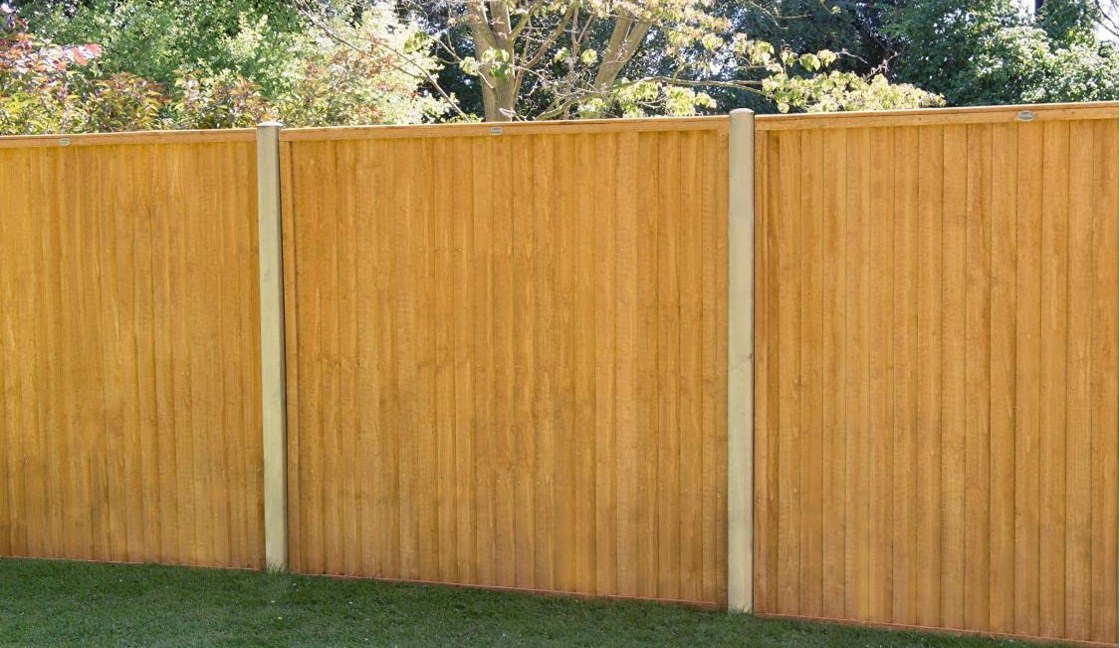
Setting fence posts in concrete is the best way to make your fence strong and durable. It is also easy to do well if you follow a few simple rules. Fixing wooden posts with concrete will give your structure a much firmer footing than when using alternatives such as a post spike, particularly if the ground is made up of light soil.
Bear in mind that choosing to concrete in fence posts will add several days to the overall completion time of the project, as you will need to allow time for the concrete to set properly.
Tools You will need:
– Narrow Spade or Large Trowel
– Spirit Level
– Gravel
– Sand
– Cement
– Wood Preservative (optional)
Choosing and Treating Wooden Fence Posts
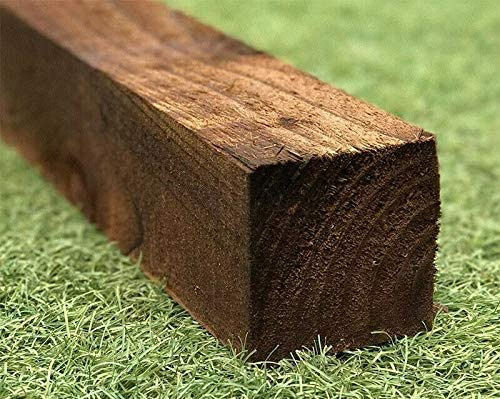
Before you start digging holes, concentrate on the fence posts. If you want the posts, and the fence, to last many years, it is recommended that you use pressure-treated timber. If possible, choose fence posts made from heartwood rather than sapwood. Just be aware that heartwood posts will be more expensive.

If your fence is going to be 6ft (1.83m) high, your posts need to be at least 25% longer, or around 8ft (2.4m.)
No matter the posts you choose, to help to stop the bottom of the post from rotting over time, paint (at least) the part which will be buried with Wood Preservative and let this dry. You might want to consider painting the bottom of the fence panels at the same time.
Digging The Fence Post Holes
You can now start digging the holes for the concrete and fence posts. The distance between the posts will usually be defined by the fence panels you are using, which are usually 6ft (1.83m). Measure a panel accurately to find the gap you need to leave between posts.
- Using a narrow spade, dig the first hole, making it roughly 3x wider on all sides than the post (e.g. for a 4×4 inch post, make your hole 12in wide) and at least 2ft deep.
- Shovel a 3-4 inch layer of gravel into the bottom of the hole. This will help with drainage and prevent water from collecting at the base of the post.
- Using the measurement from the panel, measure from the middle of the first hole to the required position of the next. If the fence isn’t running along an obvious boundary line, it is worth setting up a string line to keep the holes in a perfect row.
- Dig the second hole out, and repeat the process until all holes are dug and ready for posts to be inserted. This helps you to avoid wasting concrete later.
Mixing the Concrete for the Post Holes
You have a couple of options for the concrete you use to set fence posts: Ready-mix/Post-mix or mixing up the concrete yourself. For one or two holes, post-mix can be easier. But if you have a lot of holes to fill with concrete, it might be better to mix your own in a larger quantity.
If mixing your own, make up a fairly dry concrete mix using 1 part cement, 2 parts sand, and 3 parts aggregate (1:2:3 mix) in a cement mixer, if you have that luxury, or on a board or wheelbarrow if not. Your mix should not be too wet as this will not support the posts whilst it hardens as well as a dryer mix will.
Setting the Fence Posts in Concrete
Now it’s time to concrete in the fence posts. If you have some helping hands to hold the post (or shovel), so much the better.
- Set the post firmly into the hole and hold it upright whilst you shovel in concrete evenly around it.
- If you don’t have help, clamp lengths of wood to the post to act as temporary braces. Be careful to check that the post is upright with your spirit level before and while you add the concrete.
- Aim to leave the surface of the concrete slightly below ground level so that you can cover it with soil when it is set.
- Tamp the wet concrete around the post to knock out any air bubbles and firm it down. If possible, slope the surface of the concrete away from the post slightly to stop water pooling around it.
- Double-check that the post is upright and then leave it braced in position for 2 or 3 days. Check that the concrete has set fully before removing the braces and continuing with the construction of the rest of the fence/structure.


