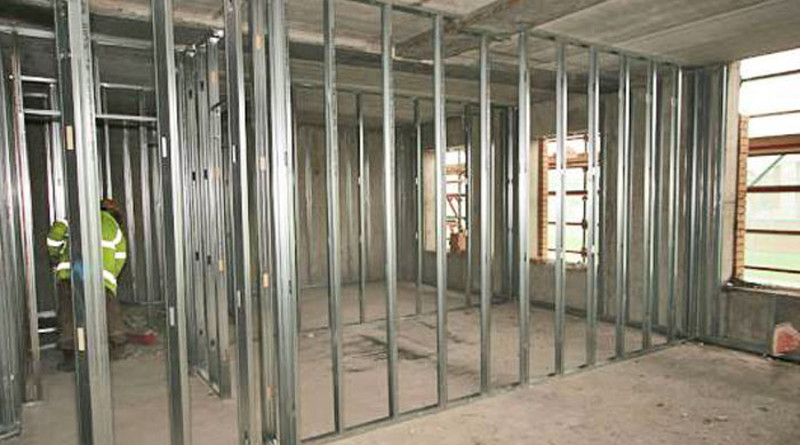
If you need to partition a room where sound penetration is not an issue, using a metal framed stud wall kit can be an easier and cleaner option to building a traditional stud wall. The finished wall will only be about 75mm thick and will be much lighter than a normal stud wall, so there is less danger of overloading the floor.
Lay the stud wall kit out on the floor and make sure you know which parts are which. The kit will come with all the parts you need to make an opening in the wall (door linings, lintels, etc), so put these aside for the moment. Identify the head plate (or profile) and the sole plate and cut them to the length required using a hacksaw. You should be careful when cutting this material to avoid any sharp edges. We recommend wearing light DIY/protective gloves and filing down any sharp edges as you cut each piece.
Fixing the Head Plate and Sole Plate
Fit the head plate first, screwing into each joist if it runs at a right angle to them, or along the length of the joist if it runs parallel. You may need to alter the planned position of the head plate if it does not line up with a parallel joist. Once the head plate is in place, use a plumb line to mark the position of the sole plate on the floor.
Apply the adhesive tape (which should be included in the kit) to the bottom of the sole plate and screw this into place. If you are planning to include a doorway in the partition wall, it is easier to fix the sole plate first and then cut the gap for the doorway afterwards as this ensures that the sole plate on either side of the doorway are in line.
Adding the Studs
Measure the distance between the inside of the head plate and the sole plate and cut your first vertical stud to this length, minus 5mm to allow for clearance. This stud will sit against the wall at one end of the partition, so now hold it in place, mark the screw holes and then drill and plug the holes. Screw the stud to the wall before repeating the process at the other end of the partition. Check the distance between the head and sole plate 600mm out from the wall stud and cut a new stud to length.
The intermediate studs are not screwed into place, instead they clip into the head and sole plate, so accuracy is important. If you cut all the studs at once from one measurement, any dips in the floor could cause problems. Place the first stud so that its centre is 600mm from the wall stud. This ensures that the plasterboards will meet in the middle of the studs. Continue to fit studs all the way along the partition in this way.
Creating an Opening
If you need to have an opening in the partition in the metal framed stud wall, try to work it out so that you just have to slightly re-position one stud for the width of the doorway. You can then continue measuring your 600mm centres from the re-positioned stud. If you do not do this, you will have problems attaching the plasterboards correctly and will just make more work for yourself. You can then fit the door head at the required height and cut away the sole plate between the studs.
Make sure you allow enough width for the door lining when working out the width of the doorway. It is also a good idea to cut a short stud to go between the door head the head plate to give yourself something to attach the plasterboard to above the doorway. Fit the door linings before you start to attach plasterboards.
Fixing Plasterboards
Cut your plasterboard 5-6mm shorter than the height of the room and use a footlifter to raise them into place against the ceiling (the gap at the bottom will be hidden by the skirting). Attach each sheet of plasterboard to the studs using drywall screws, leaving 300mm between each screw, all the way down the length of each stud. Once you have completely clad one side of the partition you can run any cables or pipes through the wall before repeating the process on the other side of the partition.
You should try to stagger the joints on each side of the wall if possible, to help increase rigidity. If you need to hang something heavy on the wall, the kit should include a metal plate which can be screwed to the studs in the required location before the plasterboard is fixed in place. This will then give you something solid to attach to.


